Have a great weekend everyone!!
Grilled Chicken Salad with Creamy Balsamic Dressing
Adapted from Food Network Magazine
- Serves 2 -
Printable Recipe
Ingredients:
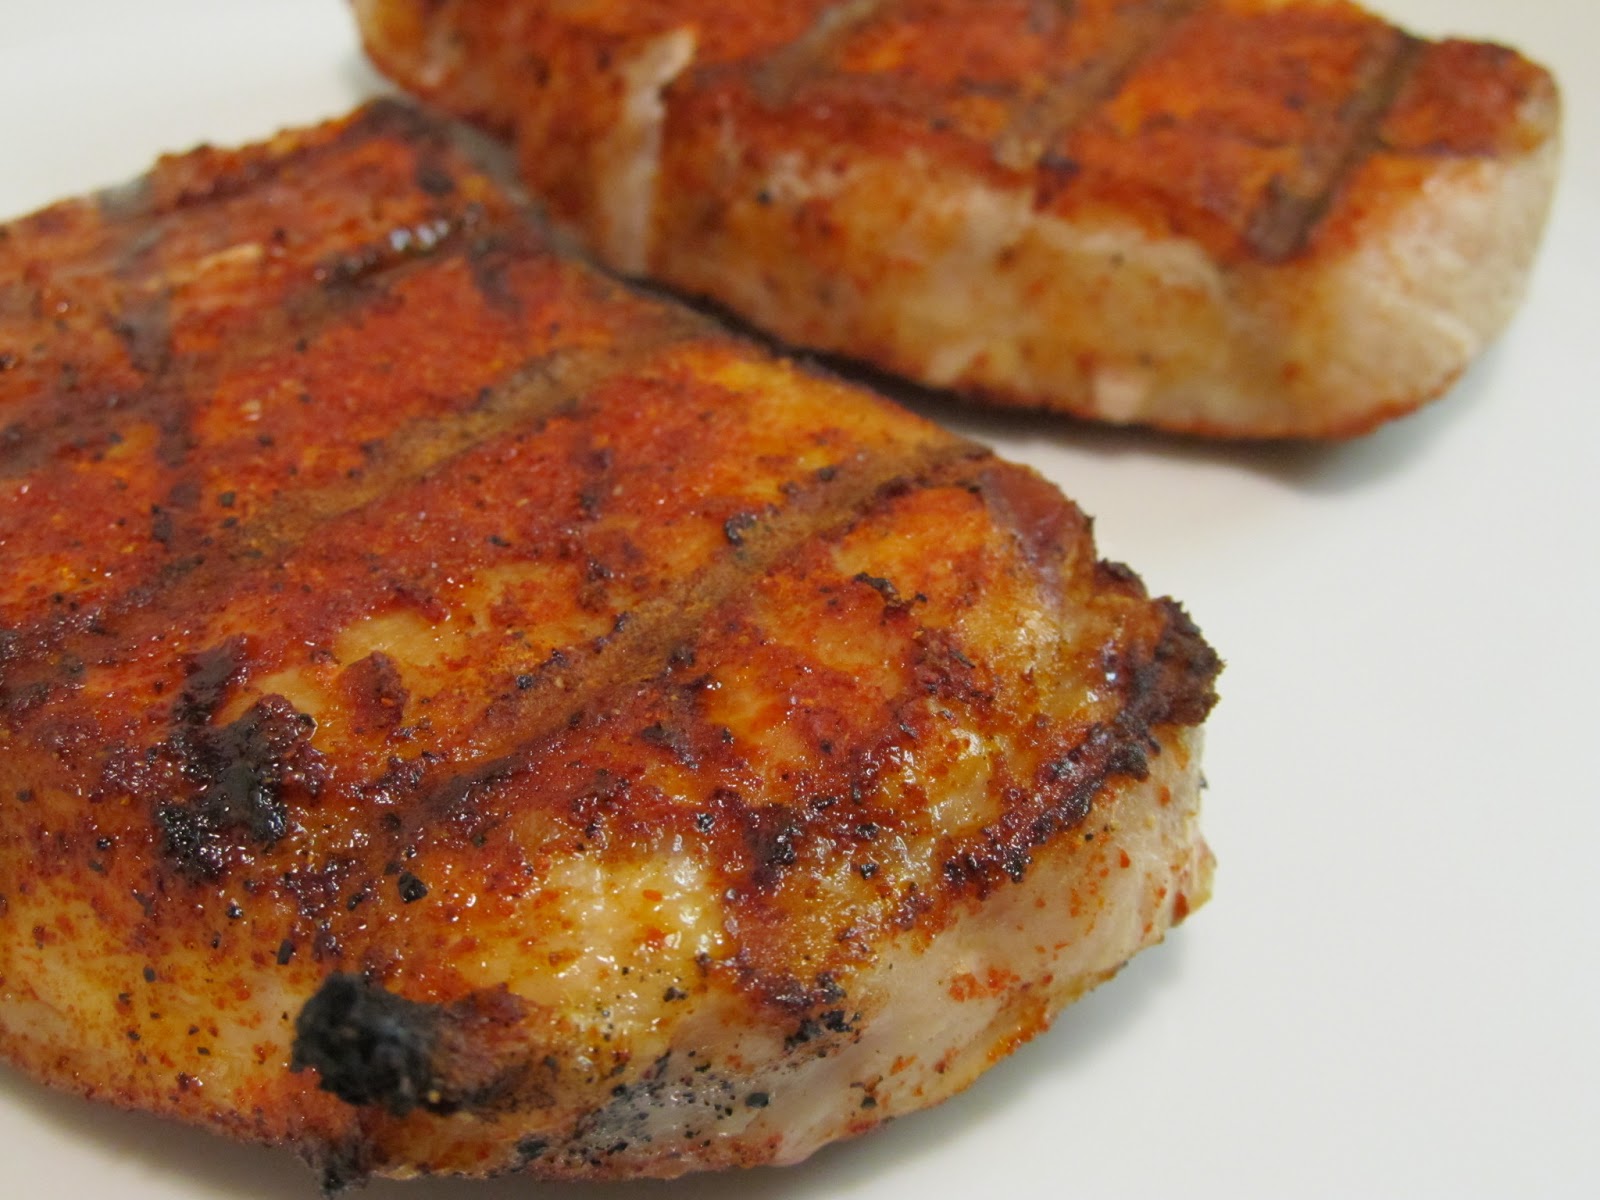
2 boneless, skinless chicken breasts
olive oil
salt and pepper
cayenne pepper
3-4 cups torn lettuce
sliced cucumbers, sliced radishes
cherry tomatoes, quartered
For the dressing -
2 Tablespoons mayonnaise
1 Tablespoon balsamic vinegar
1 Tablespoon lemon juice
2 teaspoons Dijon mustard
1 Tablespoon olive oil
1/4 teaspoon garlic powder
1/2 teaspoon salt
1/4 teaspoon pepper
1/4 teaspoon granulated sugar
Directions:
Drizzle olive oil over both sides of each piece of chicken. Season liberally with salt, pepper and cayenne. Allow to rest, covered, in the refrigerator for at least a hour.
Meanwhile, in a small bowl or measuring cup, whisk together all the ingredients for the dressing until well combined. Cover and store in refrigerator until ready to use. Can be made up to three days in advance.
Preheat grill to 375 degrees F. Clean and oil grill grates. Place chicken over direct heat and grill 5-8 minutes per side or until the chicken reaches an internal temperature of 165 degrees F. Remove from grill and allow to rest for 5-10 minutes before thinly slicing or chopping.
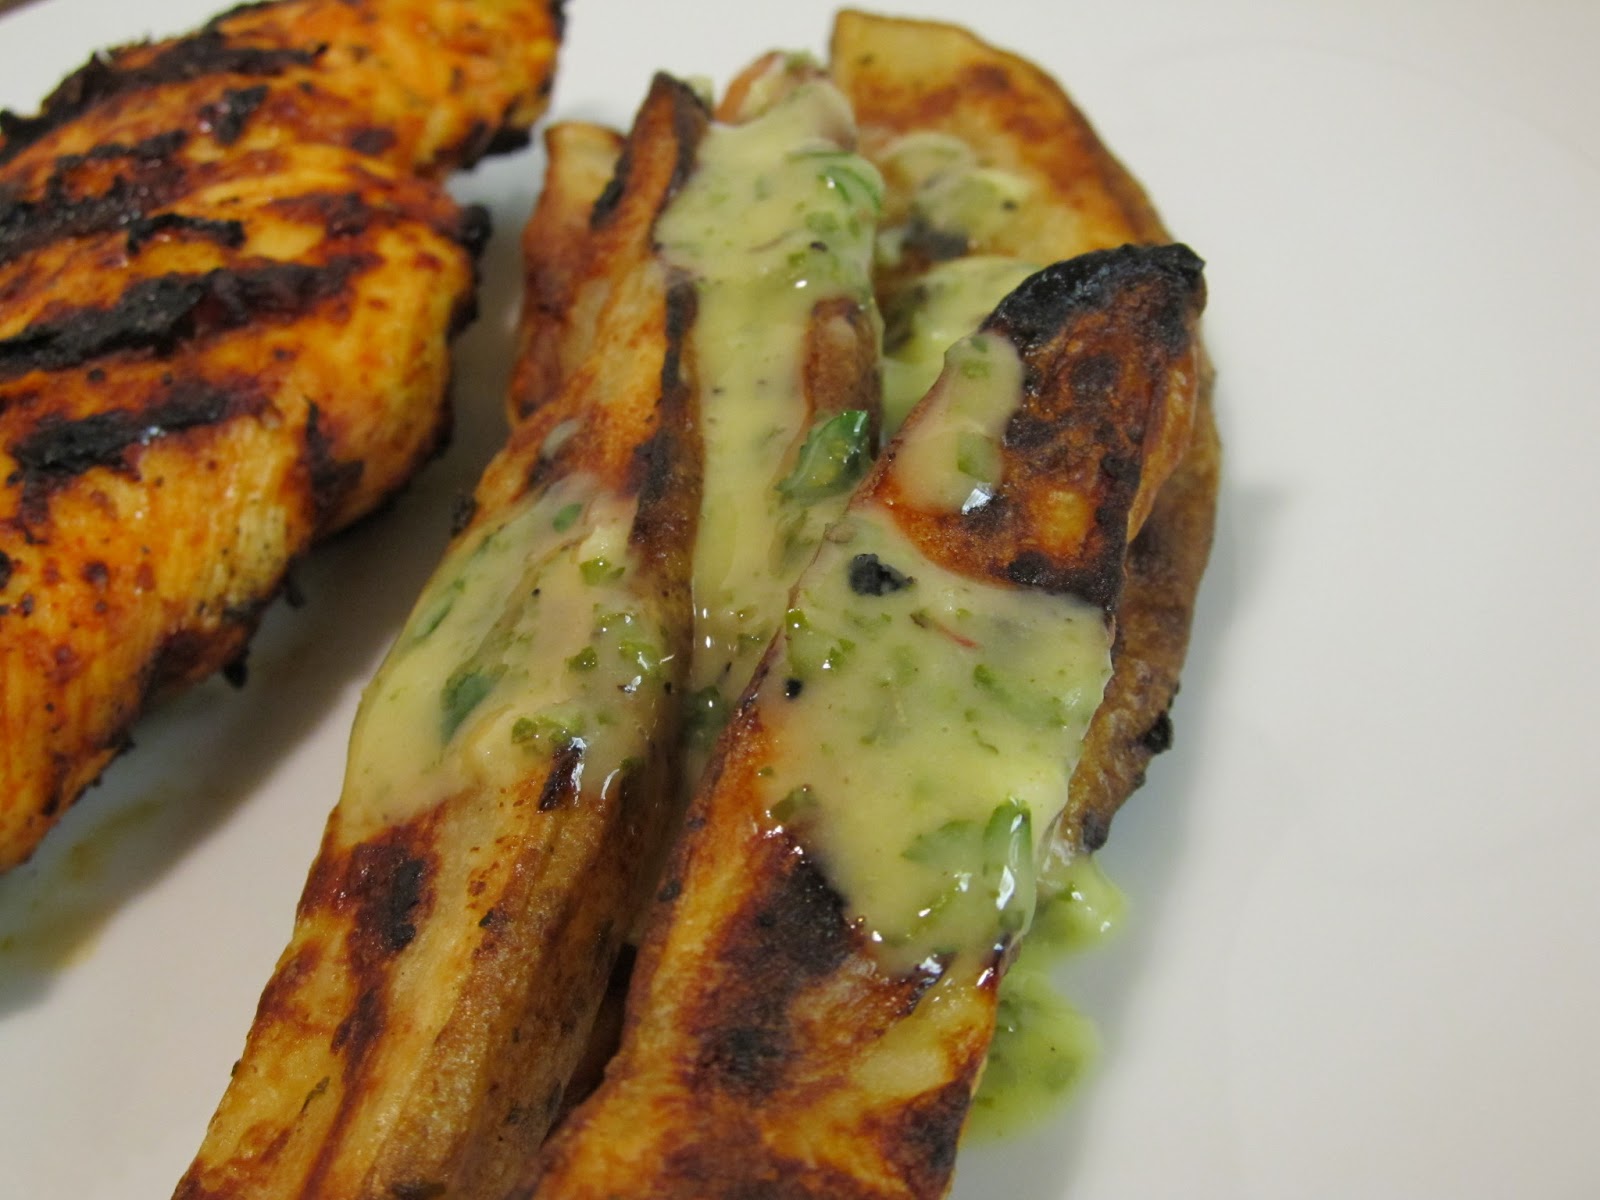
Build the salad by adding the lettuce to two plates or large bowls. Top with tomatoes, cucumber, radishes and finally the chicken. Drizzle on as much dressing as desired and serve immediately. Enjoy!

Two Years Ago: Pasta Primavera with Tuna
Three Years Ago: Grilled Sriracha Glazed Chicken